
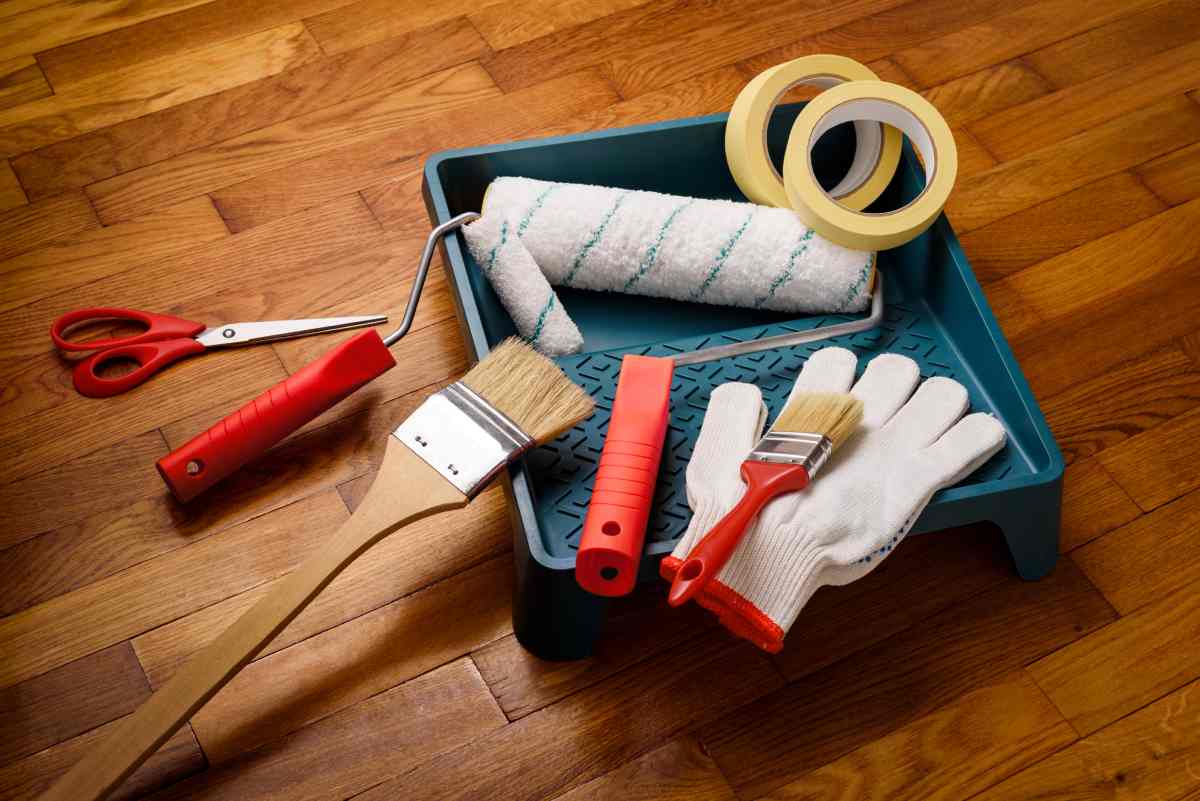
Painting is one of the most effective ways to refresh a room, update furniture, improve worn trim, or give an older surface a cleaner appearance. However, a professional-looking result depends on much more than opening a paint can and applying a new color. Most uneven finishes, visible patches, rough edges, drips, and peeling problems begin because the surface or work area was not prepared properly.
Good preparation gives the paint a clean and stable surface to bond with. It also helps protect floors, furniture, hardware, and nearby areas from accidental marks. Taking time to inspect the project, gather the correct supplies, and complete repairs before painting can save hours of extra work later.
Understand the Full Scope of Your Paint Project
Before purchasing paint, decide exactly what you plan to update. Painting one bedroom wall is very different from repainting an entire room, including the ceiling, baseboards, doors, and trim. Cabinets, furniture, exterior doors, metal railings, and bare wood also require different products and preparation methods.
Inspect the complete area and identify every surface that will be included. Consider whether the project involves drywall, wood, metal, masonry, previously painted material, or a combination of several surfaces. The type and current condition of the surface will influence the primer, paint finish, brushes, rollers, and preparation products you need.
It is also helpful to decide whether the project will be completed in one day or divided into stages. A clear plan helps you purchase the correct quantity of supplies and reduces the chance of leaving unfinished areas exposed between work sessions.
Inspect the Surface Before Buying Supplies
Paint will not repair damage or permanently cover an active problem. It can improve appearance, but cracks, loose material, stains, grease, water damage, and peeling paint must be handled before the new coating is applied.
Look closely at the wall or surface in both natural and artificial light. Small dents and uneven repairs may be difficult to see from a distance but can become much more noticeable after fresh paint is applied. Check corners, areas around windows, baseboards, door frames, and sections that were previously covered by furniture or wall décor.
Water stains deserve particular attention. Before covering them, determine whether the leak or moisture problem has been corrected. Painting over an unresolved leak may temporarily hide the stain, but the discoloration and damage are likely to return. Similar care should be taken with mold, rust, loose plaster, and damaged drywall. Some conditions may require professional repair before painting can begin safely.
Measure the Area Carefully
Accurate measurements help you estimate how much paint, primer, and protective material the project may require. Measure the height and width of each wall, along with ceilings, trim, doors, cabinets, or furniture surfaces when they are included.
Do not rely only on a quick visual estimate. Running out of paint halfway through the project can interrupt your progress and may create slight color differences if an additional container comes from a different batch. Purchasing far more than necessary also creates extra cost and leaves unused material that must be stored or disposed of responsibly.
Coverage varies depending on the paint, surface texture, existing color, application method, and number of coats. A rough or highly absorbent wall may require more product than a smooth, previously painted surface. A dramatic change from a dark color to a light one may also require additional coverage or a suitable primer.
Bring your measurements when shopping for supplies so you can compare them with the coverage information shown on the product.
Choose a Paint Finish That Fits the Space
Color is important, but the paint finish also affects appearance, durability, and maintenance. Different finishes reflect light differently and respond differently to cleaning, moisture, and everyday contact.
Flat and matte finishes have little shine and may help soften the appearance of minor wall imperfections. They can work well in lower-traffic areas, although cleaning may be more difficult depending on the product. Eggshell and satin finishes provide a slight sheen and are often selected for living areas, hallways, and spaces that need occasional cleaning.
Semi-gloss and gloss finishes are more reflective and are commonly considered for trim, doors, cabinets, and surfaces exposed to frequent contact. Their smoother appearance can make cleaning easier, but the additional shine may highlight dents, uneven patches, or poor surface preparation.
Choose the finish based on the room, surface condition, expected wear, and cleaning needs rather than selecting one finish for the entire home.
Test the Color in Your Actual Space
Paint colors can appear different depending on natural light, artificial lighting, surrounding furniture, flooring, and the direction the room faces. A sample that looks warm and balanced in a store may appear darker, cooler, or much brighter after it is placed on your wall.
Test the color in more than one area when possible. Observe it during the morning, afternoon, and evening. Compare it with the flooring, cabinets, trim, countertops, curtains, and larger pieces of furniture that will remain in the room.
Testing before purchasing the full quantity allows you to see how the color behaves in the space. This step can prevent the frustration and expense of repainting a room because the finished color does not match what you expected.
Gather the Correct Tools Before Beginning
A smoother project begins with having all necessary materials available before the first coat is applied. Paint, primer, brushes, rollers, trays, drop cloths, painter’s tape, patching material, sandpaper, scrapers, caulk, cleaning supplies, and safety equipment may all be needed depending on the surface.
The correct brush and roller matter because different materials create different finishes. A smooth wall generally needs a different roller cover than a heavily textured wall or masonry surface. An angled brush can provide better control near ceilings, trim, and corners, while a wider brush may be useful for larger flat areas.
Do not assume the same supplies will work equally well for walls, cabinets, furniture, metal, or exterior surfaces. Review the paint manufacturer’s instructions and match each application tool to the coating and material.
Clear and Protect the Work Area
Move furniture out of the room whenever possible. Larger items that cannot be removed should be moved toward the center and covered securely. Take down wall art, curtains, removable shelves, and other objects that may interfere with painting.
Remove outlet covers and switch plates only when it is safe to do so, and store the screws in a labeled container. Protect flooring with suitable drop cloths or coverings that will remain secure while you work. Thin coverings that slide easily can create both mess and a tripping risk.
Doors, fixtures, windows, cabinets, and nearby surfaces should also be protected when they are not part of the project. Even careful painters can create splatter or accidentally place a wet tool on an unprotected surface.
Preparing the room properly allows you to work more freely without constantly worrying about damaging the surrounding area.
Clean the Surface Thoroughly
Dust, grease, smoke residue, fingerprints, and household grime can prevent paint from bonding properly. Cleaning is especially important in kitchens, bathrooms, entryways, and rooms that experience frequent use.
Use a cleaning method that is appropriate for the surface and allow it to dry completely. Do not paint over damp walls or surfaces that still contain cleaning residue. Corners, trim, baseboards, cabinet fronts, and areas around switches often collect more dirt than the center of a wall and may require additional attention.
A clean surface helps the primer and paint adhere evenly and reduces the risk of peeling, bubbling, or visible contamination in the finished coating.
Repair Damage and Smooth Uneven Areas
Fill nail holes, dents, minor cracks, and damaged sections with a repair product suitable for the material. Allow the repair to dry fully before sanding it smooth.
Sanding should blend the patched area into the surrounding surface rather than creating a raised or sharply defined edge. After sanding, remove all dust before applying primer or paint. Remaining dust can become trapped in the coating and create a rough finish.
Peeling or loose paint should be removed carefully until the remaining surface is stable. Glossy finishes may also require cleaning, light sanding, or another approved preparation method so the new coating can bond properly.
Larger cracks, recurring movement, extensive drywall damage, or structural concerns should be assessed before continuing with cosmetic work.
Determine Whether Primer Is Required
Primer can improve adhesion, create a more consistent surface, help cover repairs, and reduce the visibility of certain stains or major color changes. It is often useful on bare wood, new drywall, patched areas, porous surfaces, and materials that have not previously been painted.
A primer may also help when covering a very dark color with a much lighter shade or when the existing surface has uneven absorption. Certain stains, including water marks or smoke discoloration, may require a specialized primer rather than a standard general-purpose product.
Not every wall needs a complete coat of primer. A clean, sound, previously painted surface may only require spot priming over repaired areas, depending on the paint and surface condition. Always review the coating instructions and choose a primer that is compatible with both the surface and the final paint.
Apply Painter’s Tape With Care
Painter’s tape can protect trim, glass, hardware, and adjacent surfaces, but it must be applied to a clean and dry area. Press the edge firmly so paint is less likely to move underneath it.
Tape should support careful application rather than replace it. Applying too much paint along the taped edge can create buildup or allow paint to seep through small gaps.
Remove the tape according to the manufacturer’s recommendations. Leaving it in place too long can make removal difficult, while pulling it away carelessly may damage the finished coating.
Follow a Clear Painting Order
Planning the order of work helps prevent freshly painted areas from being damaged. When an entire room is being painted, the ceiling is commonly completed first, followed by the walls, trim, and doors. The exact order may vary depending on the project and preferred technique.
Work in manageable areas and maintain a consistent application method. Avoid repeatedly rolling over paint that has started to dry because this may create visible texture, lines, or uneven coverage.
Follow the stated drying and recoat times. Paint that feels dry to the touch may not be ready for another coat, cleaning, furniture contact, or hardware installation. Temperature, airflow, humidity, and coating thickness can all affect drying.
Plan for Cleanup and Storage
Review the product instructions before beginning so you know how brushes, rollers, trays, and spills should be cleaned. Water-based and other coatings may require different cleanup methods.
Reusable tools should be cleaned promptly before the coating dries. Leftover paint should be sealed properly and labeled with the room, color, finish, and purchase date. Store it under conditions recommended by the manufacturer.
Do not pour unused paint or cleanup material into household drains. Follow approved local disposal guidance for unwanted paint and related supplies.
Better Preparation Leads to Better Results
A successful paint project begins well before the first coat reaches the wall. Accurate measurements, careful inspection, proper repairs, clean surfaces, suitable products, and organized supplies all contribute to a smoother and more durable finish.
KB Home & Hardware carries a changing selection of paint, primer, wood stain, brushes, rollers, trays, caulk, and preparation supplies for projects around the home. Bring your measurements, photographs, or project details to the North Nashville shop and get practical help choosing the materials you need before getting started.